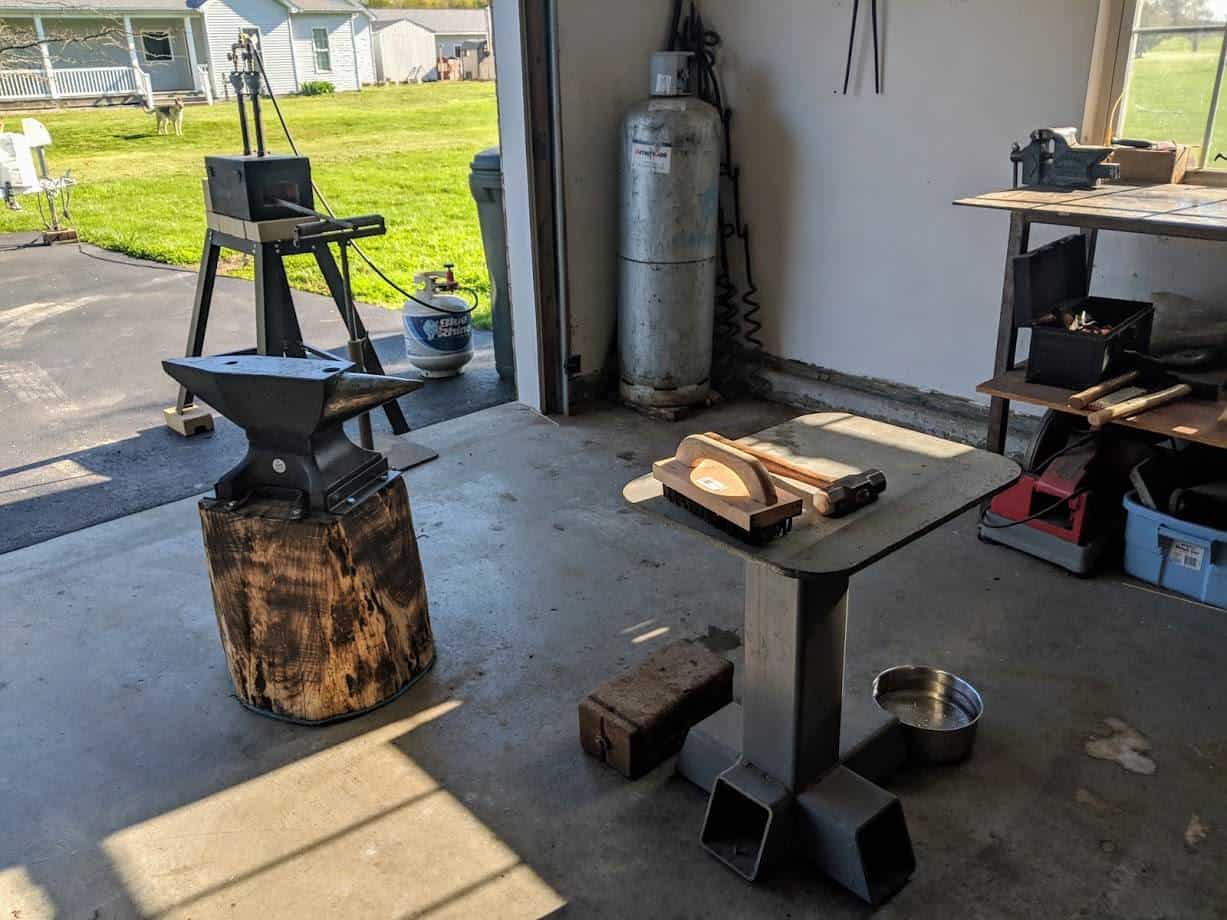
It seems like yesterday when I began my blacksmithing journey. To my girlfriend’s dismay, I took over a small part of the garage for my new hobby, and in retrospect, it didn’t take many tools to get going. While veteran blacksmiths and established shops have literally hundreds of tools to get the job done, as a beginner you only need five to get started.
The best 5 Blacksmithing tools to get started are a forge, a good pair of tongs, a hammer, an anvil, and a vise. With these tools you have everything you need to start making some cool beginner projects!

Forge 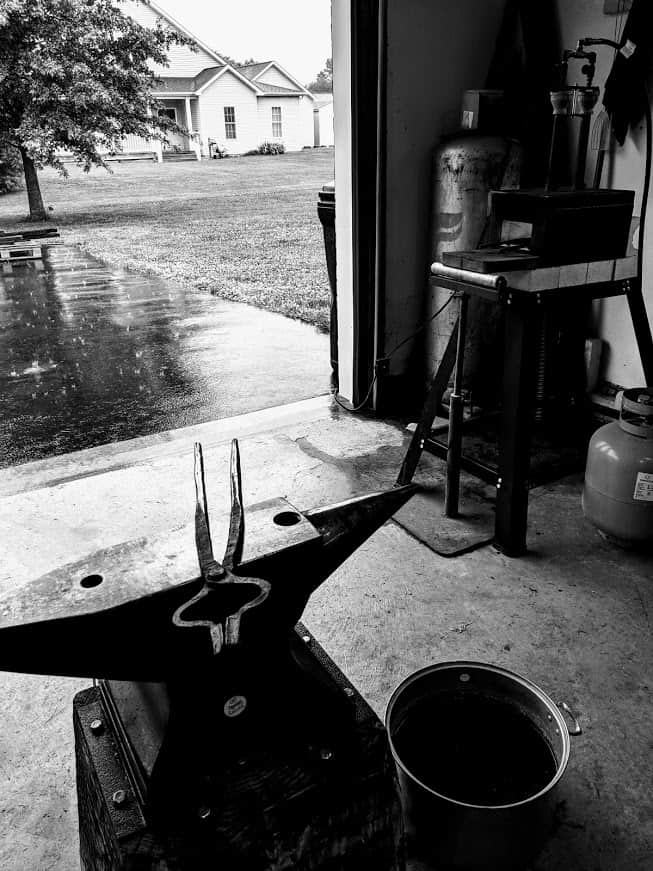
Tongs 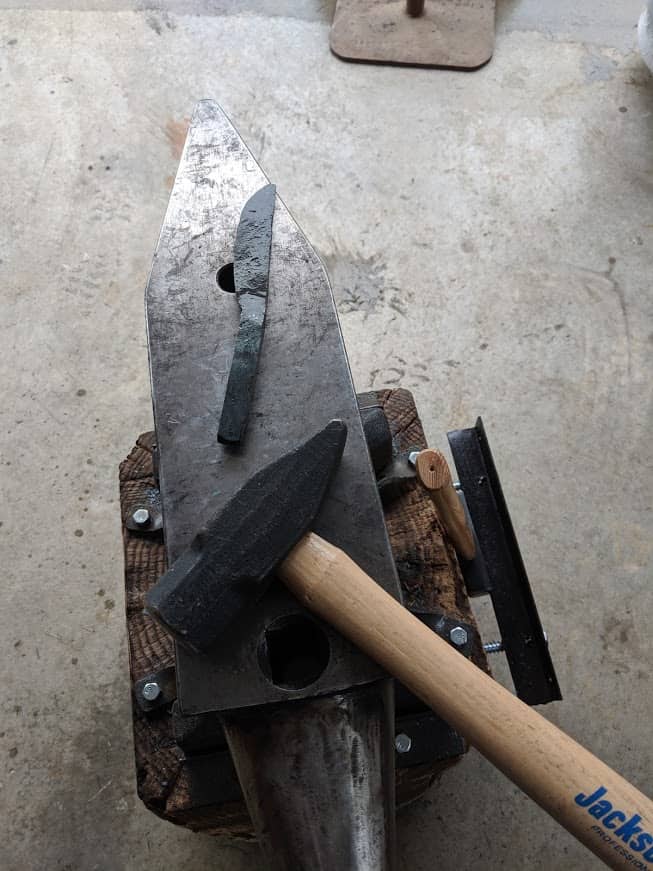
Hammer 
Anvil 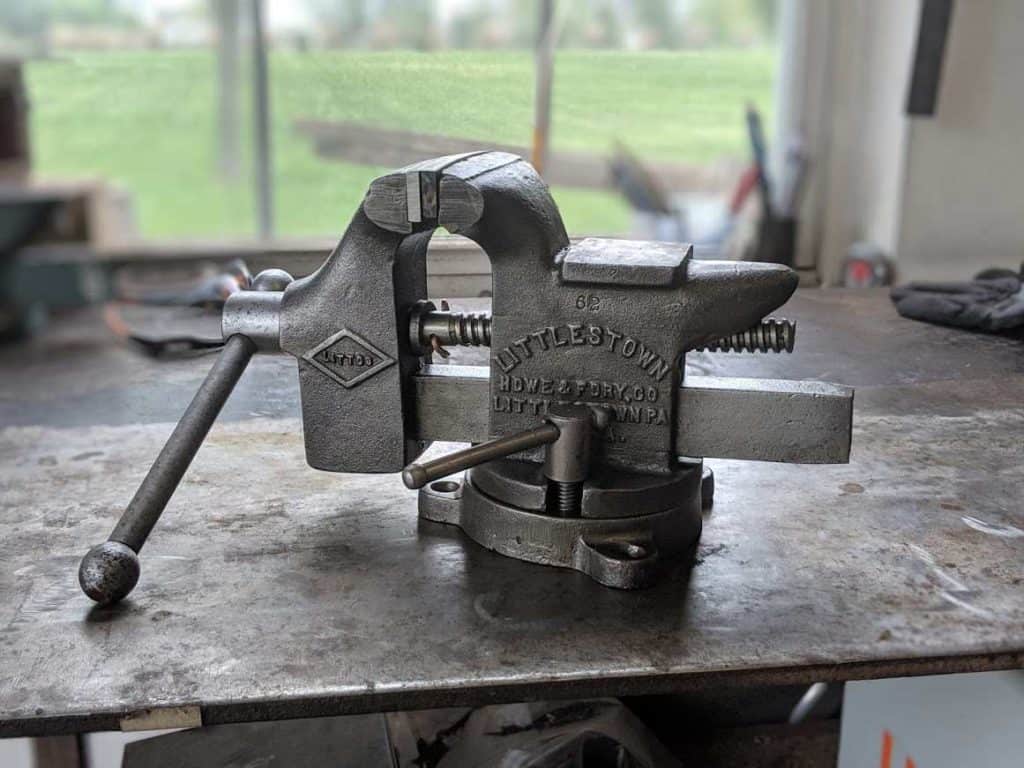
Vise
Sounds simple, right? The essence of blacksmithing is simple.
Heat, beat, and repeat!
With these five tools, you’ll be able to do that. Still, a lot of people take a long time to get started or never get started because they can’t decide which tools to get.
#1 The Forge
The forge is the heart of a blacksmith’s shop. You can make a forge, buy a forge, burn coal or propane, or you can even use a torch. The point is, you have to have some way to get the metal hot!
Traditionally, blacksmiths have used forges that burned solid fuels like coal and coke, however, a good propane forge can also get the job done.
Here is some more information about the pros and cons of both.
Coal Forge
PROS
- Localize and heat only the portion of metal you intend to forge.
- Relatively inexpensive to operate per year (depending on your supplier).
- Easily heat metal to forge-welding temperatures.
CONS
- Must be well ventilated and can produce a lot of smoke.
- Must be constantly tended to ensure the fire doesn’t go out or worse that you don’t overheat and burn your metal.
- Takes up a fair amount of shop space including an area to store the coal.
Propane Forge
PROS
- Burns clean and doesn’t overheat metal (still requires proper ventilation).
- Easy to use and doesn’t take up much shop space.
- Portable, easily move around the shop.
CONS
- Difficult to localize heat to a specific area of the steel.
- Not all propane forges get hot enough to forge-weld.
- Propane is generally more expensive to burn versus coal.
There is definitely a lot to consider regarding whether you want to use a coal or a propane forge, but hopefully, the points above provided enough information to help with your final decision.
The easiest solution for me was to use a propane forge. There’s less mess and no fuss. We found a small two-burner forge on Facebook Marketplace for about $200 and it was perfect for beginner projects.
Personally, I’m a fan of the propane forge. In fact, I have my eye on a new Chile Forge. The burners are more efficient and I’ll be able to finally forge-weld.
I plan on buying the Cayenne model just as soon as I finish my new blacksmith shop. By the time you are reading this, I’ll probably already have it. 😉
#2 The Anvil
A proper anvil cannot be replicated or otherwise improved upon by alternate means. The hammer hits the hot metal and the anvil hits it back. In fact, the bigger the anvil the more efficient your hammer blow will be.
When I started blacksmithing I literally used a 10” square by 2” thick piece of steel that I found at the local flea market. At the time, I thought it did a good job, that is, until I finally bought a real anvil and was amazed at the difference.
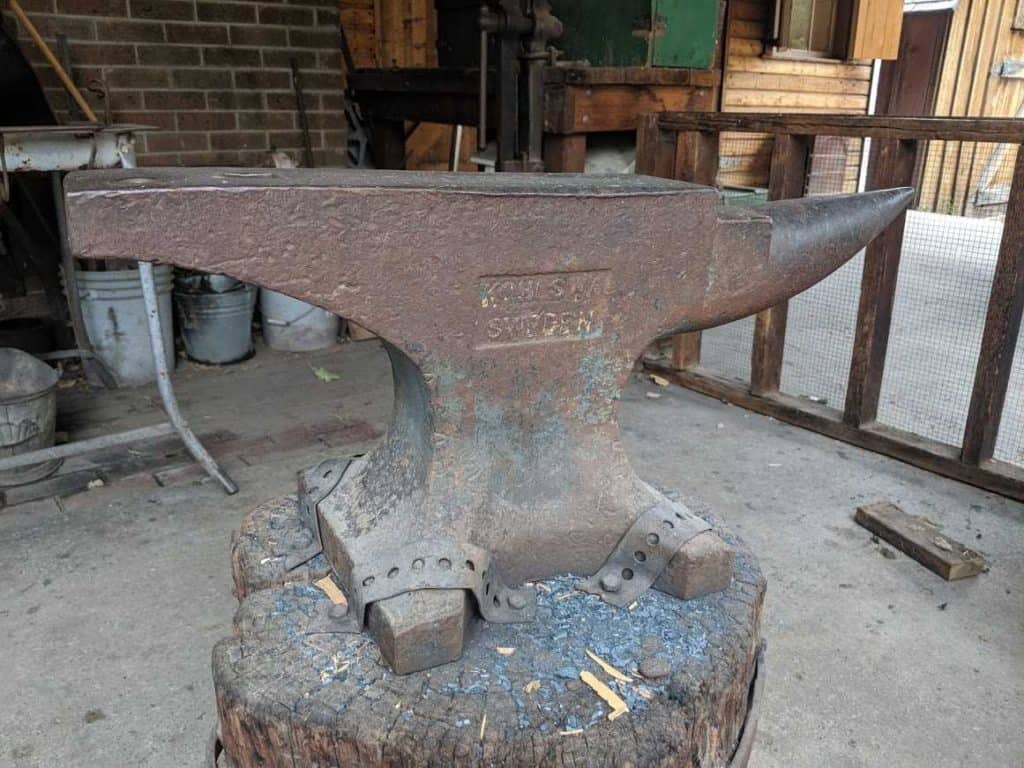
If you are fortunate, you will be able to find a used anvil locally or online, however, the price of used anvils has gone up commensurate with the rise in the popularity of blacksmithing.
I bought a new 165 lb Peddinghaus anvil from ACME Tools online. It’s sold under the Ridgid mark and has been an absolute rockstar. I love the fact that every scratch and mark on my anvil is from me.
That being said, I look forward to the day when I will find a larger more substantial anvil for the shop.
#3 A Blacksmith’s Hammer
The hammer is an extension of your will to move the metal where you want it to go, and using the correct hammer will help you move it more quickly and accurately.
There are many varieties of hammers available, but to start you really only need one. I started with a framing hammer, but a true blacksmith hammer makes all the difference.
Good beginner blacksmith hammers include the Cross-Peen, the Ball-Peen, and the Rounding Hammer. All of these can be purchased online and most in local specialty shops. I purchased my first Cross-Peen hammer for about 20 bucks on Amazon.
#4 Grab a Pair of Tongs
Now that you’ve got a way to hit hot metal, you’ve got to securely hold it in place.
Using the correct pair of tongs is not only a way to maintain a safe working environment (think flying pieces of red-hot steel) but also essential to saving time and effort in the shop.
Tongs come in many shapes and sizes but one thing they all have in common is what they are made of. Because they are frequently heated and cooled, tongs are generally forged from low to medium carbon steel.
Wolf’s Jaw tongs may be the best first pair of tongs you could own. The jaws of the tongs indeed look like the jaws of a hungry animal with multiple peaks and valleys that are able to grasp different types of metal.
Centaur Forge has a great selection of Wolf’s Jaw tongs.
Other tongs to consider are Bolt tongs, Box-jaw tongs, and V-bit tongs.
#5 Secure a Vise
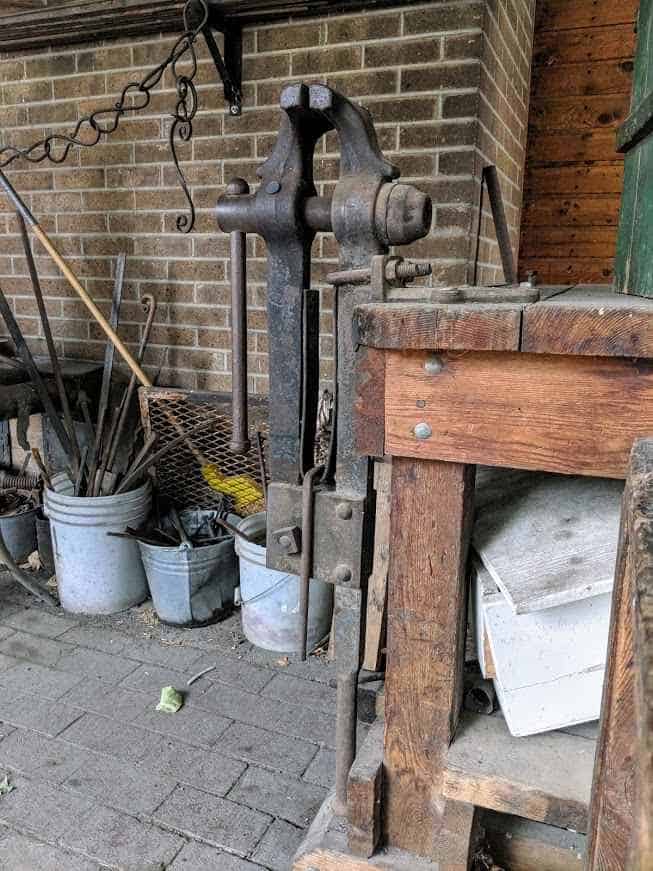
Blacksmiths generally use two types of vises, the post vise, also known as a leg vise, and the machinist vise.
While not absolutely necessary for the beginner, a vise helps immensely when bending, upsetting, and finishing.
You don’t need to spend large amounts of money on a vise either. Used machinist vises around here start at around 30 bucks and although they aren’t Post / Leg vises, they do the trick.
Conclusion
There are literally hundreds of other tools and pieces of equipment that you can (or will want to) acquire after taking up the hobby of blacksmithing, but a forge, an anvil, a hammer and tongs, and a vise will get you started.
Start with what you’ve got (or can get) and the tools will follow. Stay on the lookout for used tools at realistic prices. I’ve never used eBay but have heard good things. Personally, I like to go to flea markets and yard sales as well as looking at Facebook marketplace from time to time.
Let your friends and family know of your interest in Blacksmithing and you might be surprised what shows up on your doorstep. One of my best surprises came while I was eating dinner at the local bar and grill (we only have one restaurant in town).
The owner asked me out to his truck to show me something and ended up giving me my first set of tongs and a half-full bucket of railroad spikes. I’m still working my way through that bucket and the tongs were a huge improvement over the vice grips I was using. 😉
But what else, you ask?
While these five tools will get you started there are many others that make life blacksmithing much more enjoyable.
For more information about blacksmith tools and specifically what to get next, check out 11 Hand Tools All Blacksmiths Use to learn more.